PhD Bigger Crafting Queue (A21)
Autor:PhDGamingLast updated:14/08/2023 19:33:1756.6K1KB


Mod Introduction
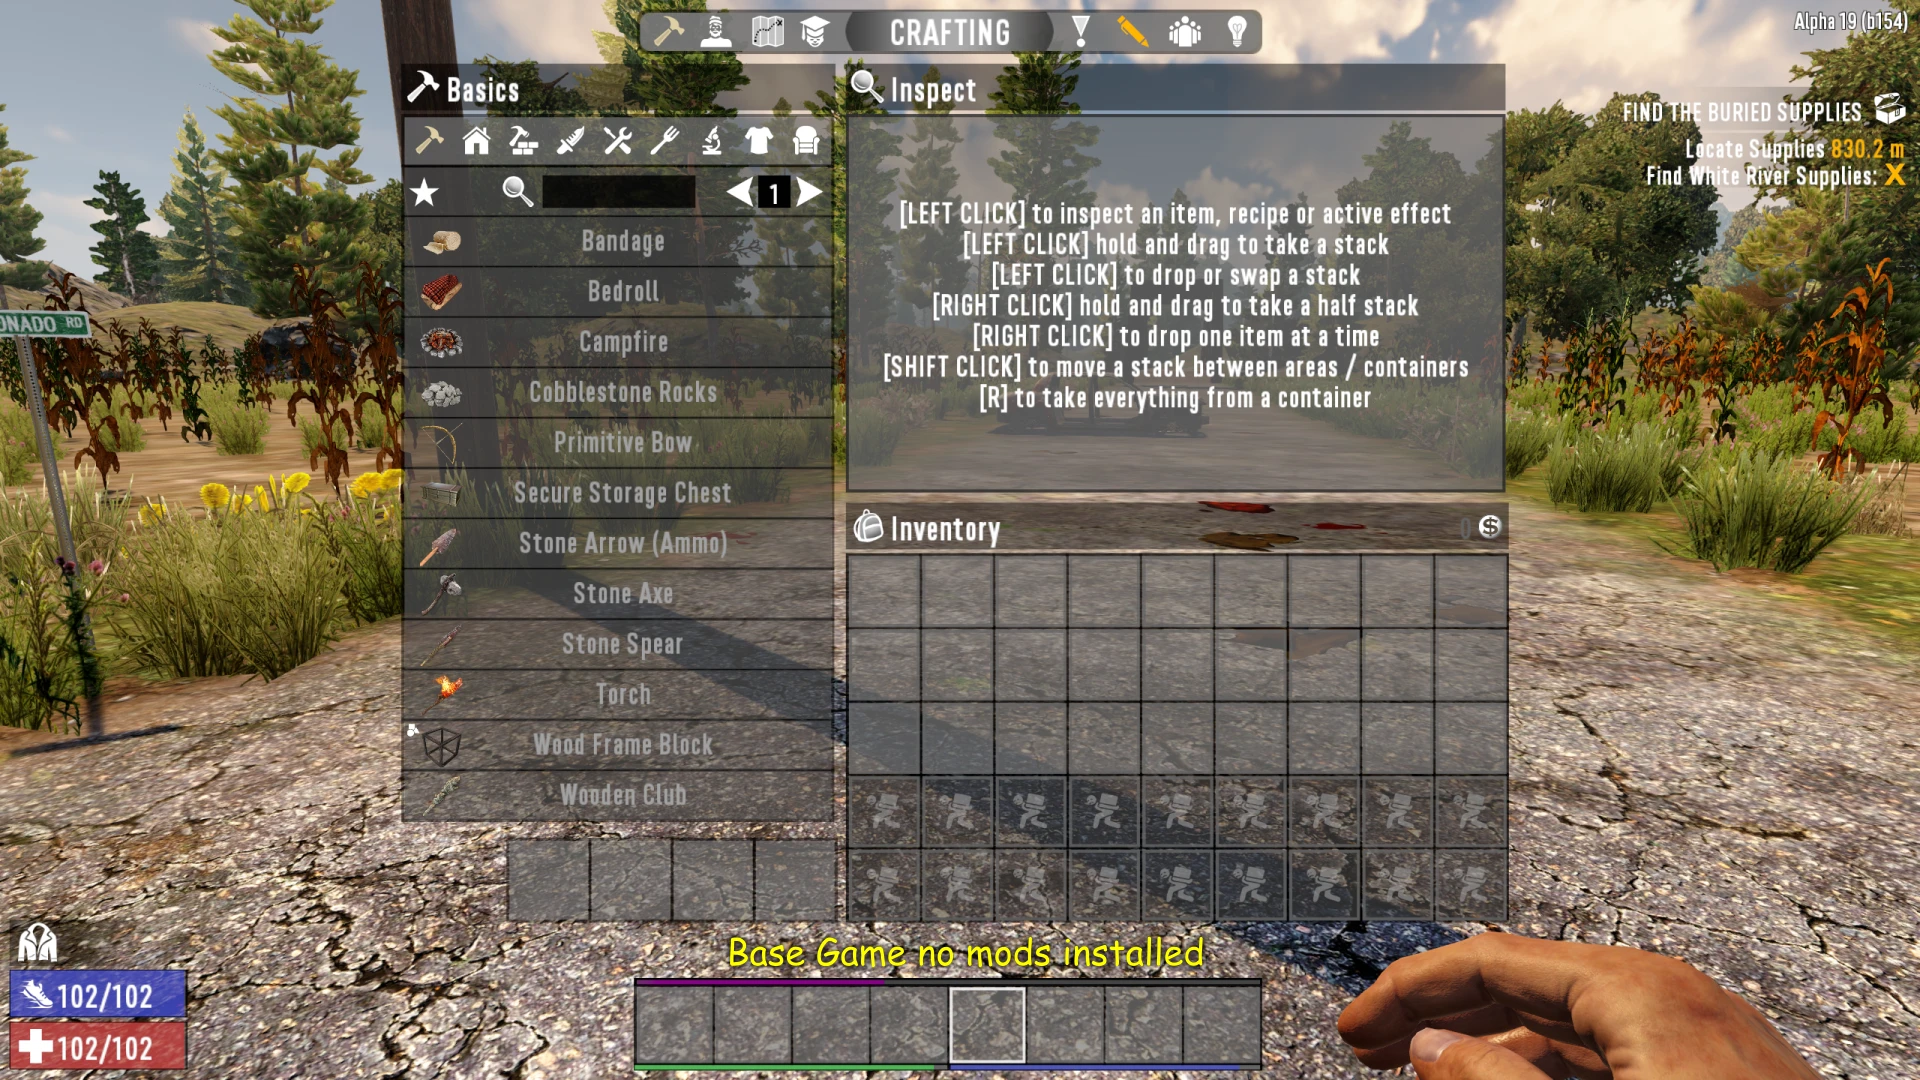
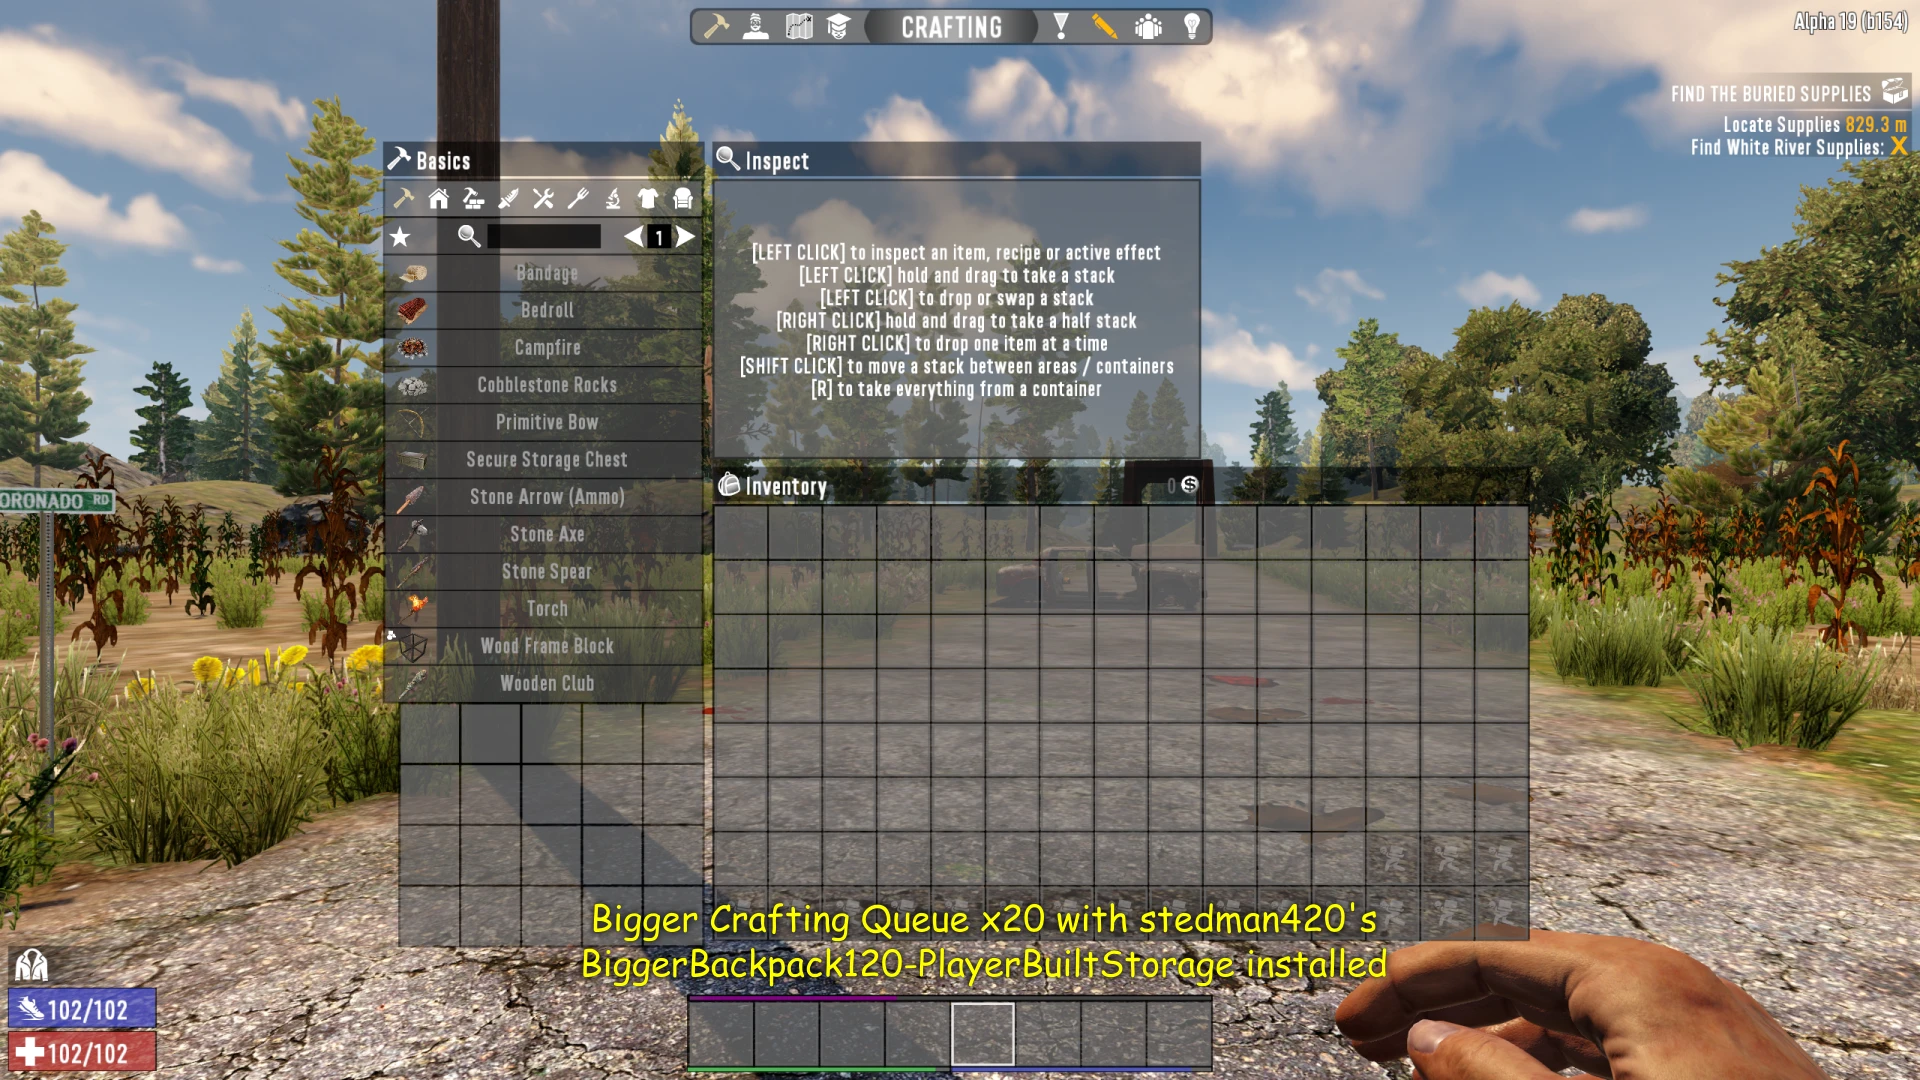
Expands the player's crafting queue from 4 slots to either 10. or 20 slots.
UPDATE 2.0: Works with Alpha 21.
UPDATE 1.3: Works with Alpha 20.
UPDATE 1.2: Expansion to support TWENTY crafting queue slots is now available.
This simple mod expands the player's crafting queue from four slots to twenty slots, depending on the version you install.
I made this mod because I always kept filling up my queue while looting a POI and ended up waiting for a slot to open. Yeah, I'm a hoarder — what can I say?
It may sound like a simple mod, but how many times have you found yourself waiting for a crafting slot to open up? Go on, admit it! You're standing in a POI, your inventory is full, you want to scrap a bunch of junk you don't need, but your crafting queue is completely full... See? I knew this mod would come in handy.
This mod works best with my **PhD Bigger Backpack & Secure Storage Chests** mod. It just makes everything fit better on the screen. It is highly recommended that you use this mod for the twenty-slot version of Bigger Crafting Queue, otherwise it will NOT fit on the screen.
I’ve only tested the twenty-slot version at 16:9, so it might not work at other resolutions.
NOTEThis mod is NOT compatible with SMX — By Sirillion.
Let me know what you think. I'm always open to feedback and suggestions. If you enjoy the mod, don't forget to hit that endorse button — it really helps! Thanks!
I’d also welcome any donations (Patreon)! Thanks!
My Other Mods:
PhD Bigger Backpack and Secure Storage(A21)
PhD Bigger Forge Input (A21)
PhD Bigger Vehicle Storage (A21)
PhD Bigger Output Queue (A21)
PhD Disassemble IT (A21)
PhD Just Better (A21)
PhD Nailgun (A21)
PhD Better 30K Stacks(A21)
INSTALLATION:
ALWAYS backup your game! THIS SHOULD ALWAYS BE DONE BEFORE INSTALLING ANY NEW MOD - EVEN WITH A MOD MANAGER!
The best way to install mods is to use a mod manager. I use Vortex, but there are other options like Mod Organizer 2 and Nexus Mod Manager. At the bottom of the Nexus website, there should be a button to learn more about Vortex. The other two can be downloaded from Nexus—just search for them. There are also YouTube guides on how to install and set up these programs, which can help you decide which one to use. Once you've chosen, installing a mod is as easy as clicking a button on the download page. Your mod manager will take care of the rest.
To install a mod manually:
1. Back up your game files!
2. Create a folder named "Mods" inside your 7 Days to Die installation directory - "\steamapps\common\7 Days To Die"
3. Extract the folder from the mod's zip file into the Mods directory. Each installed mod should have its own folder.
4. Start the Game
5. Done
This tool is provided by the third party [bufftool]

Download Mods For Free
Install LagoFast, start 7 Days to Die and play with the mods you love.
We use cookies to make interactions with our websites andservices easy and meaningful. For more information aboutthe cookies we use or to find out how you can disable cookies, click here.